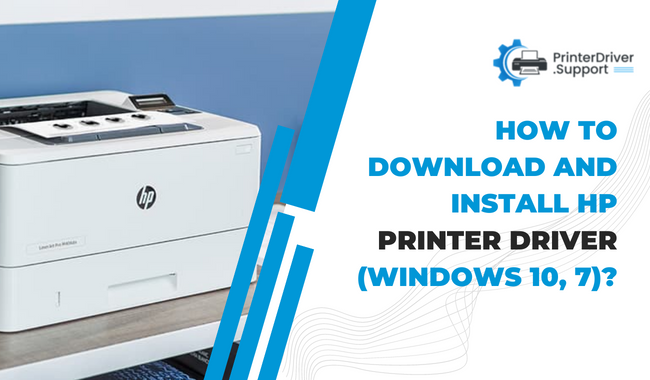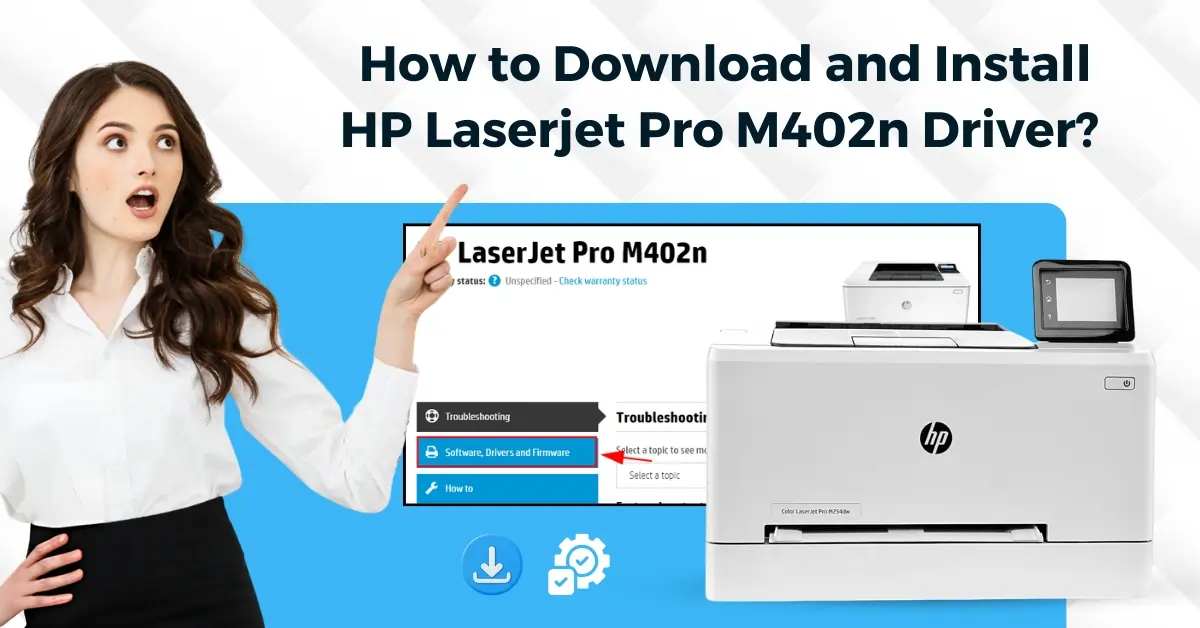
How To Download And Install HP Laserjet Pro M402n Driver?
Don’t know how to download and install the HP Laserjet Pro M402n printer driver? Are you Facing any issues while downloading the driver? The HP printer driver download process is straightforward, but some users struggle to do that. The problem usually arises when you are doing it for the first time or facing errors like incomplete download/install, driver package not opening, printer setup issues, and more.
Here, acquire the pin-point knowledge of downloading and installing the HP Laserjet Pro M402n driver. Keep reading until the end to understand each step thoroughly!
Steps to Download and Install HP Laserjet Pro M402n Driver
The following tutorials will allow you to easily download and install the suitable driver for your HP Laserjet Pro printer on your PC.
Steps to Download Driver
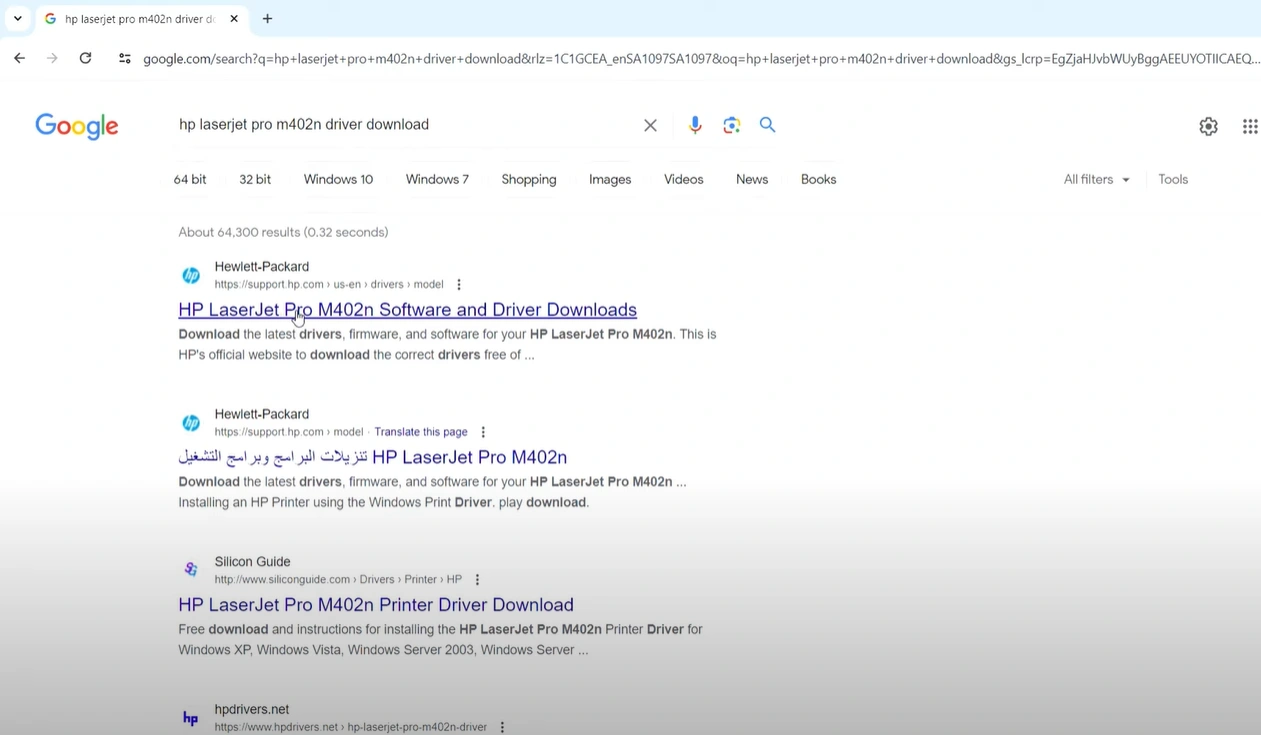
1. At the start, open any web browser on your Windows system, type your HP Laserjet Pro M402n printer name, and select the option with the driver in it from the result.
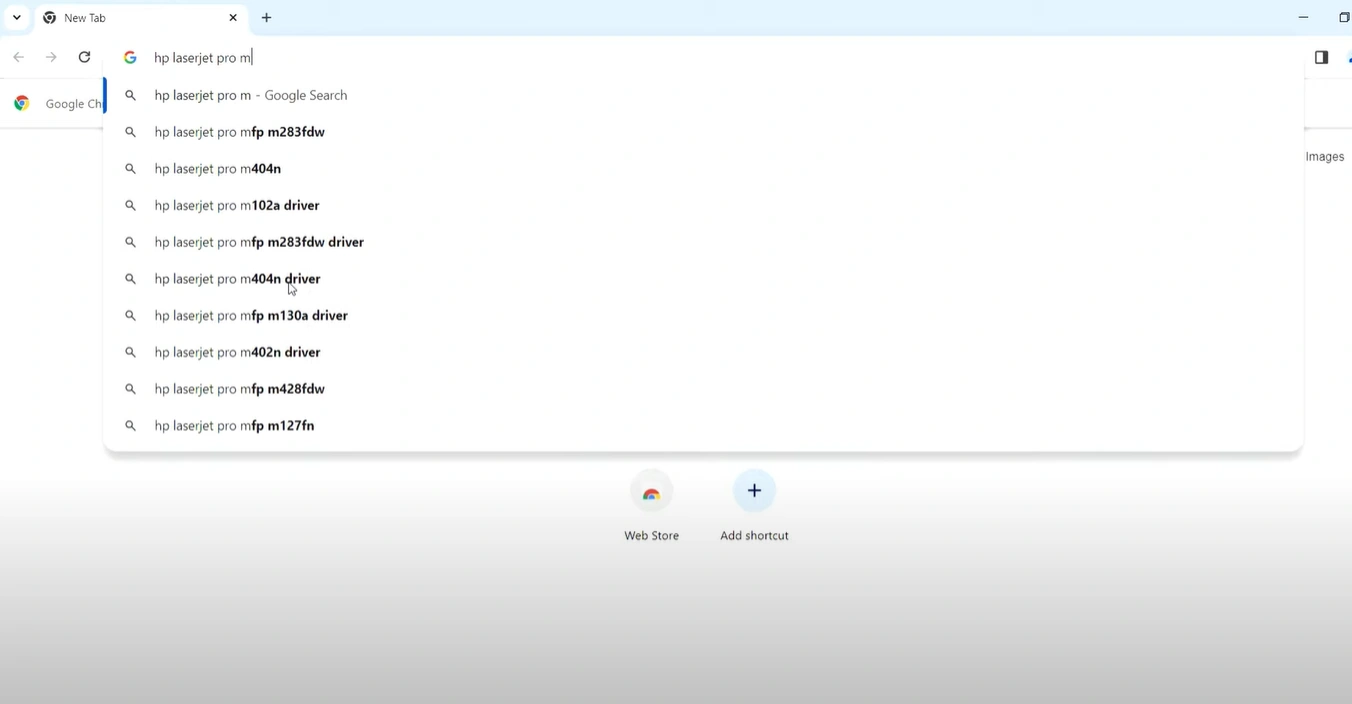
2. Click on the official website option.
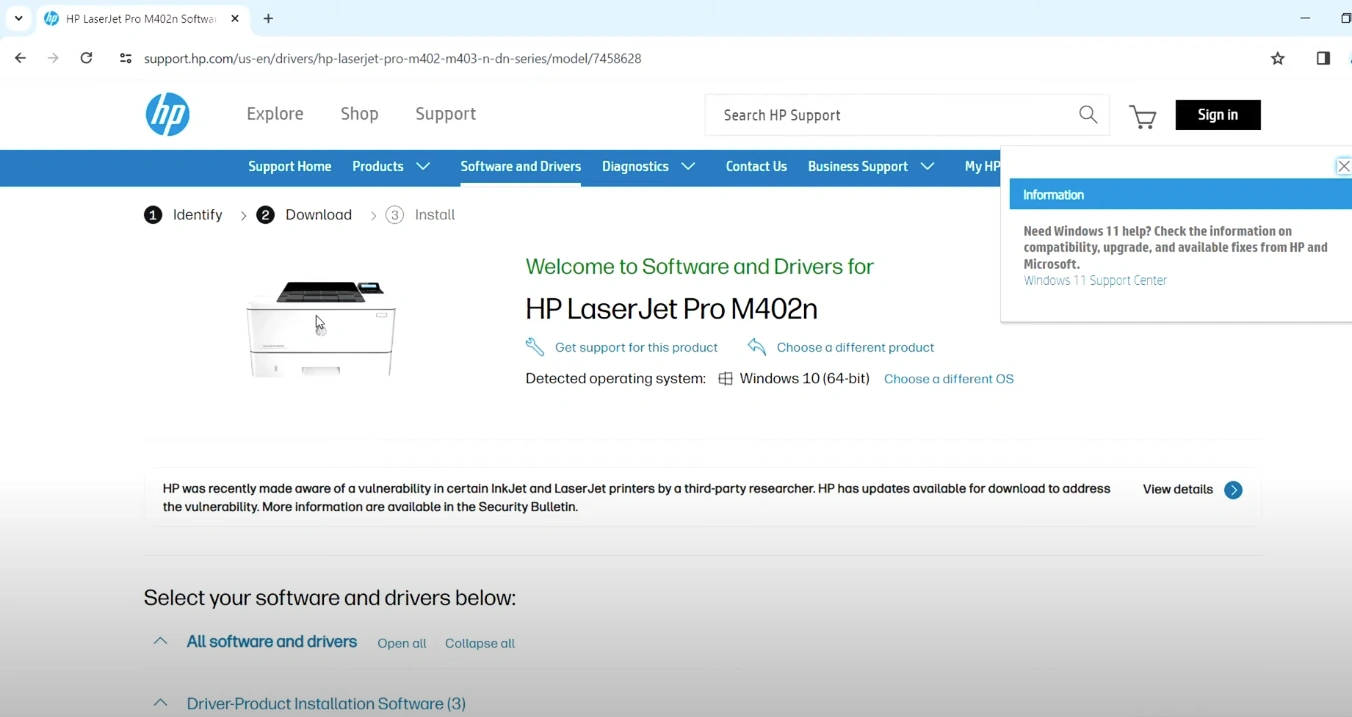
3. Once you are on the driver page of the HP Laserjet Pro M420n printer, then make sure to choose the correct operating system.
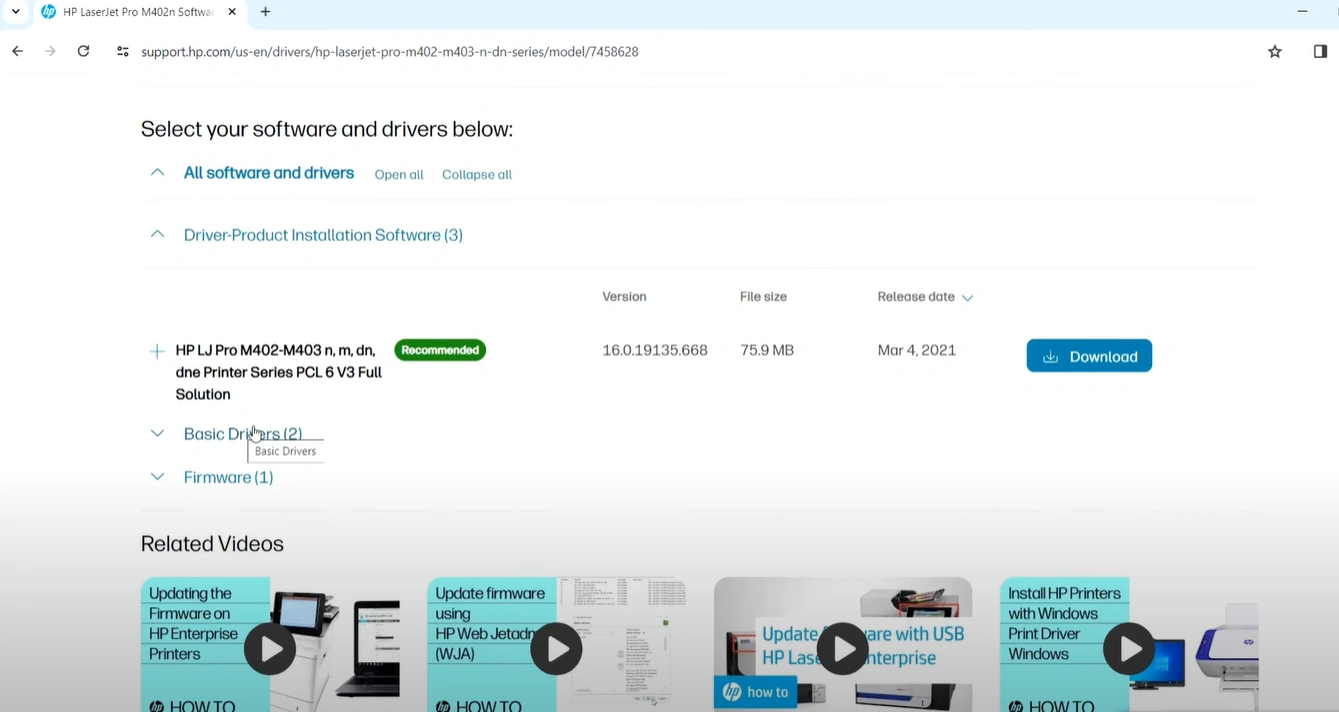
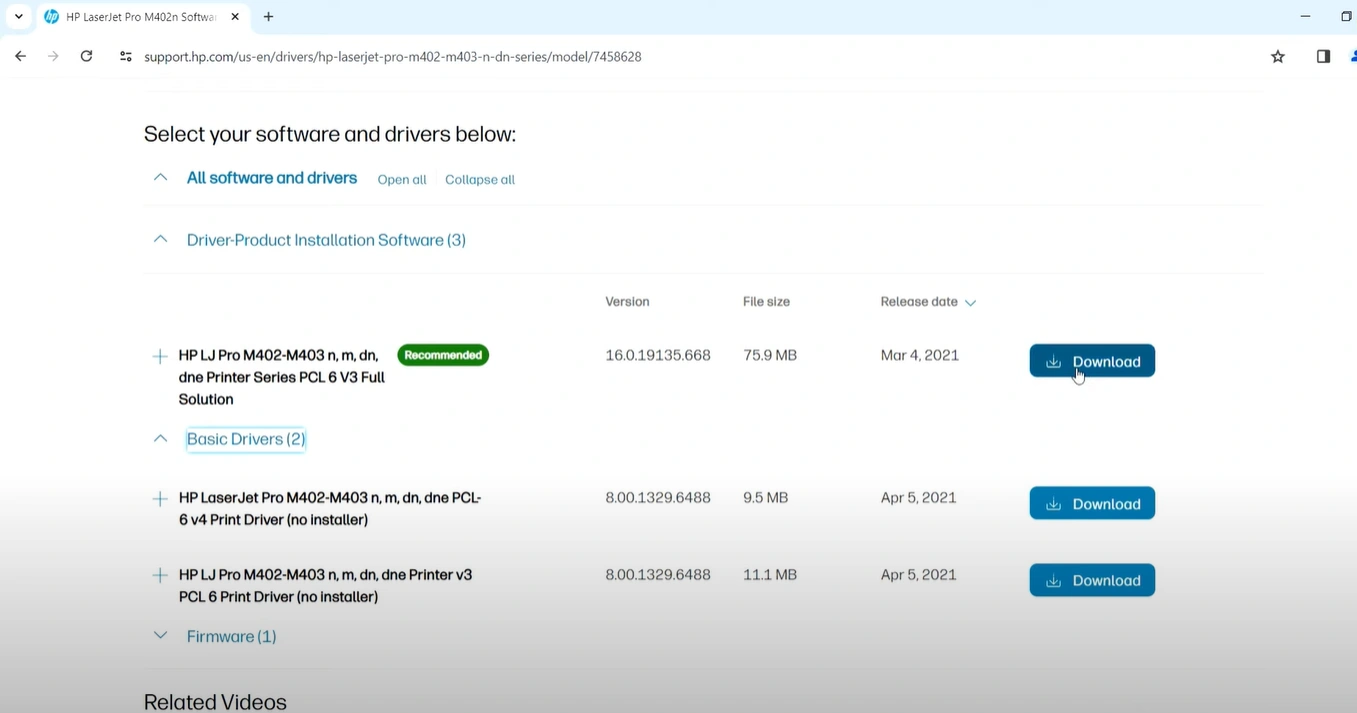
4. Next, click on the Basic Drivers drop-down menu and then choose the download option for the driver you want to download.
5. Let the driver download be complete, and then click on the package from the Downloads.
Steps to Install Driver
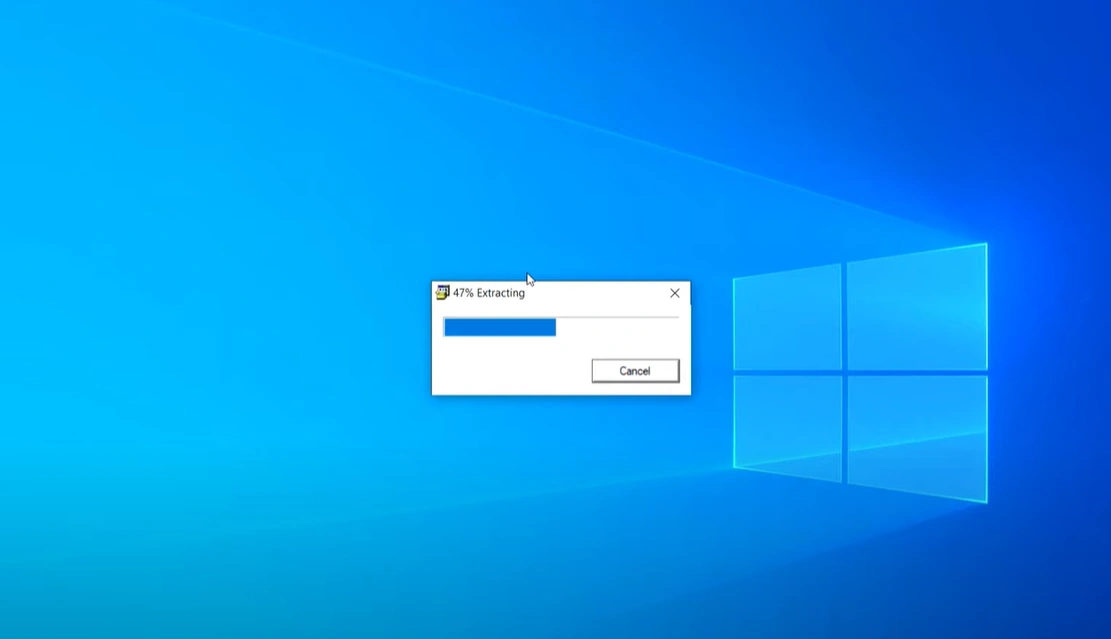
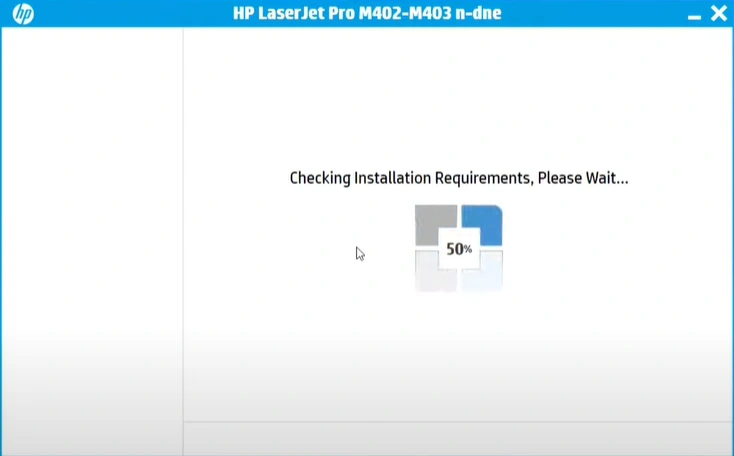
1. The system will start extracting the file on your device.
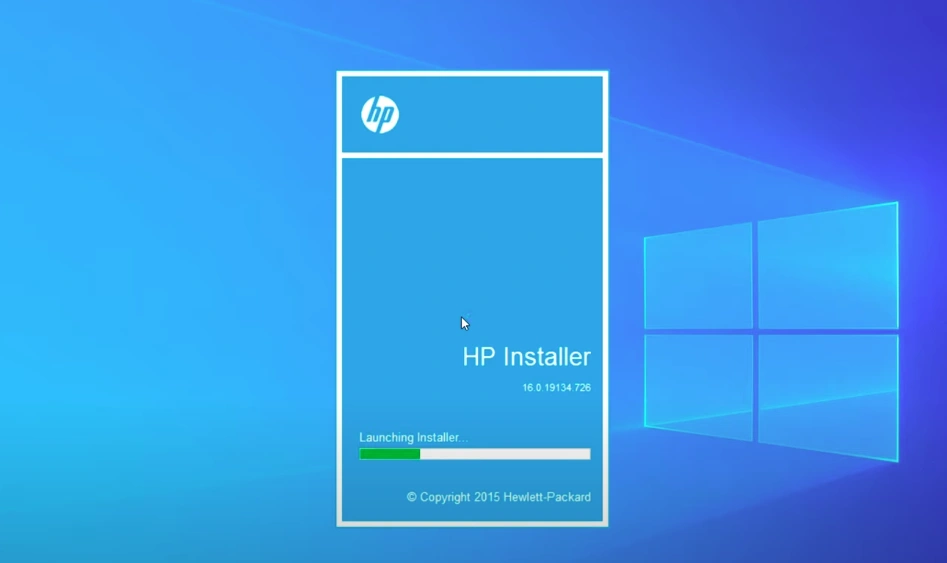
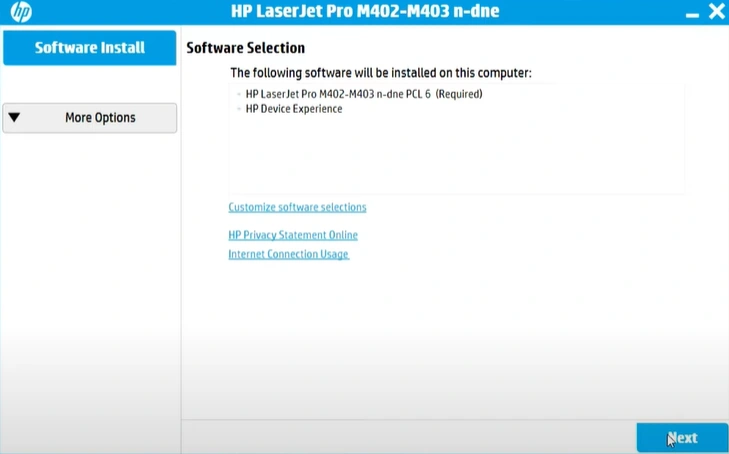
2. Henceforth, the installer will launch; on the Software Selection screen, click on Next.
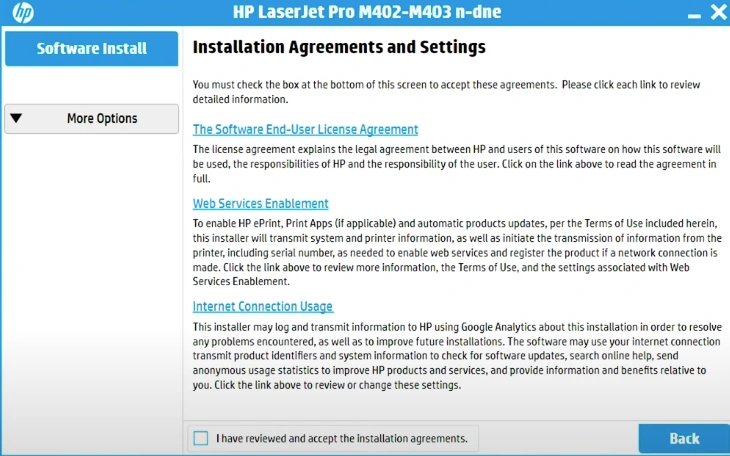
3. On the ‘Installation Agreement and Settings’ page, click on the checkbox and then select Next.
4. When preparing to install is complete on the next page, click on the Next option.
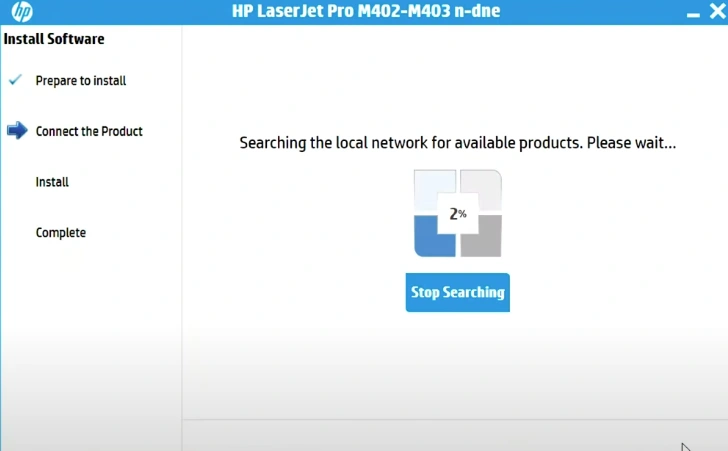
5. Next, click on the ‘Connect through a network (HP Web Services Cable)’ radio button and make sure to choose the ‘Automatically find my product on the network.’ option.
6. After that, turn on the printer and attach the Wi-Fi cable.

7. The network scanning process will begin, and after that, the software will install automatically.
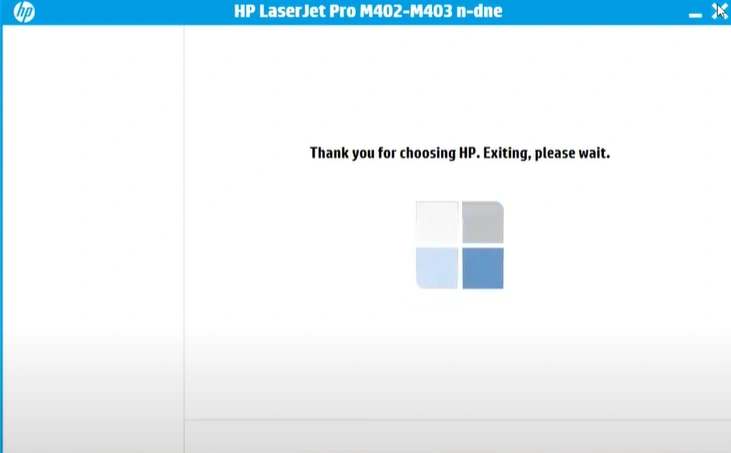
8. Once the driver installation process is complete, click on the Finish button.
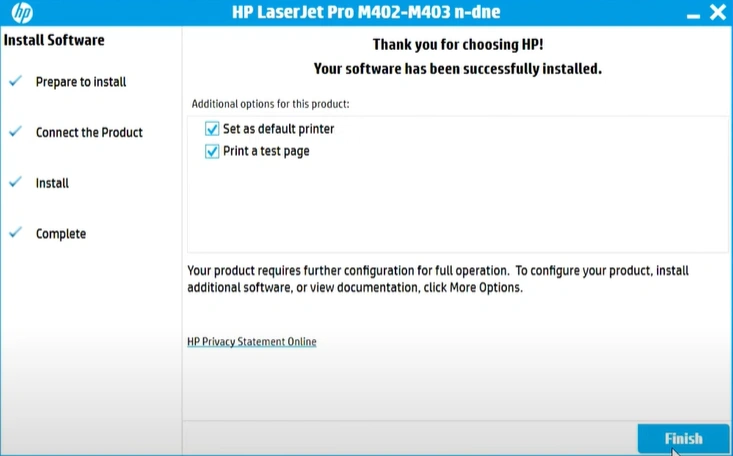
9. If you want, you can move on to the next steps to complete the printer setup on a device.
Final Words
With the help of our extensive guide, you can find a suitable driver for your HP M420n printer without any hassle. Before downloading the driver, ensure your PC has a stable network connection and download the driver only from the official website. If you still have any doubts related to the connection process, the installation is not complete, or if you are facing any errors during the installation process, then it would be best to reach out for more help.